Are you still using UIAlertView?
March 25, 2016
Are you still using UIAlertView to present alerts in your apps? It is time to stop. With the release of iOS 9 UIAlertView became deprecated. There is now a new way to present alerts to the user. In iOS 8 Apple introduced UIAlerController which is functionally equivalent to UIAlertView. It is also much nicer to use.
UIAlertView example
Let’s briefly look at the way you would use UIAlertView in the past. Before iOS 8 you would have to do something similar to the following to show a simple UIAlertView:
let alert = UIAlertView(
		title: "Alert title",
		message: "Alert message",
		delegate: self,
		cancelButtonTitle: "Cancel",
		otherButtonTitles: "Ok")
alert.show()
The above code produces the following alert:

Another thing that you would have to do is to implement UIAlertViewDelegate. This would enable you to get notified when user interacts with your alert view.
func alertView(alertView: UIAlertView, clickedButtonAtIndex buttonIndex: Int) {
	print("Button clicked: \(alertView.buttonTitleAtIndex(buttonIndex))")
}
Granted the above code is not complicated but it feels somewhat wrong.
Introducing UIAlertController
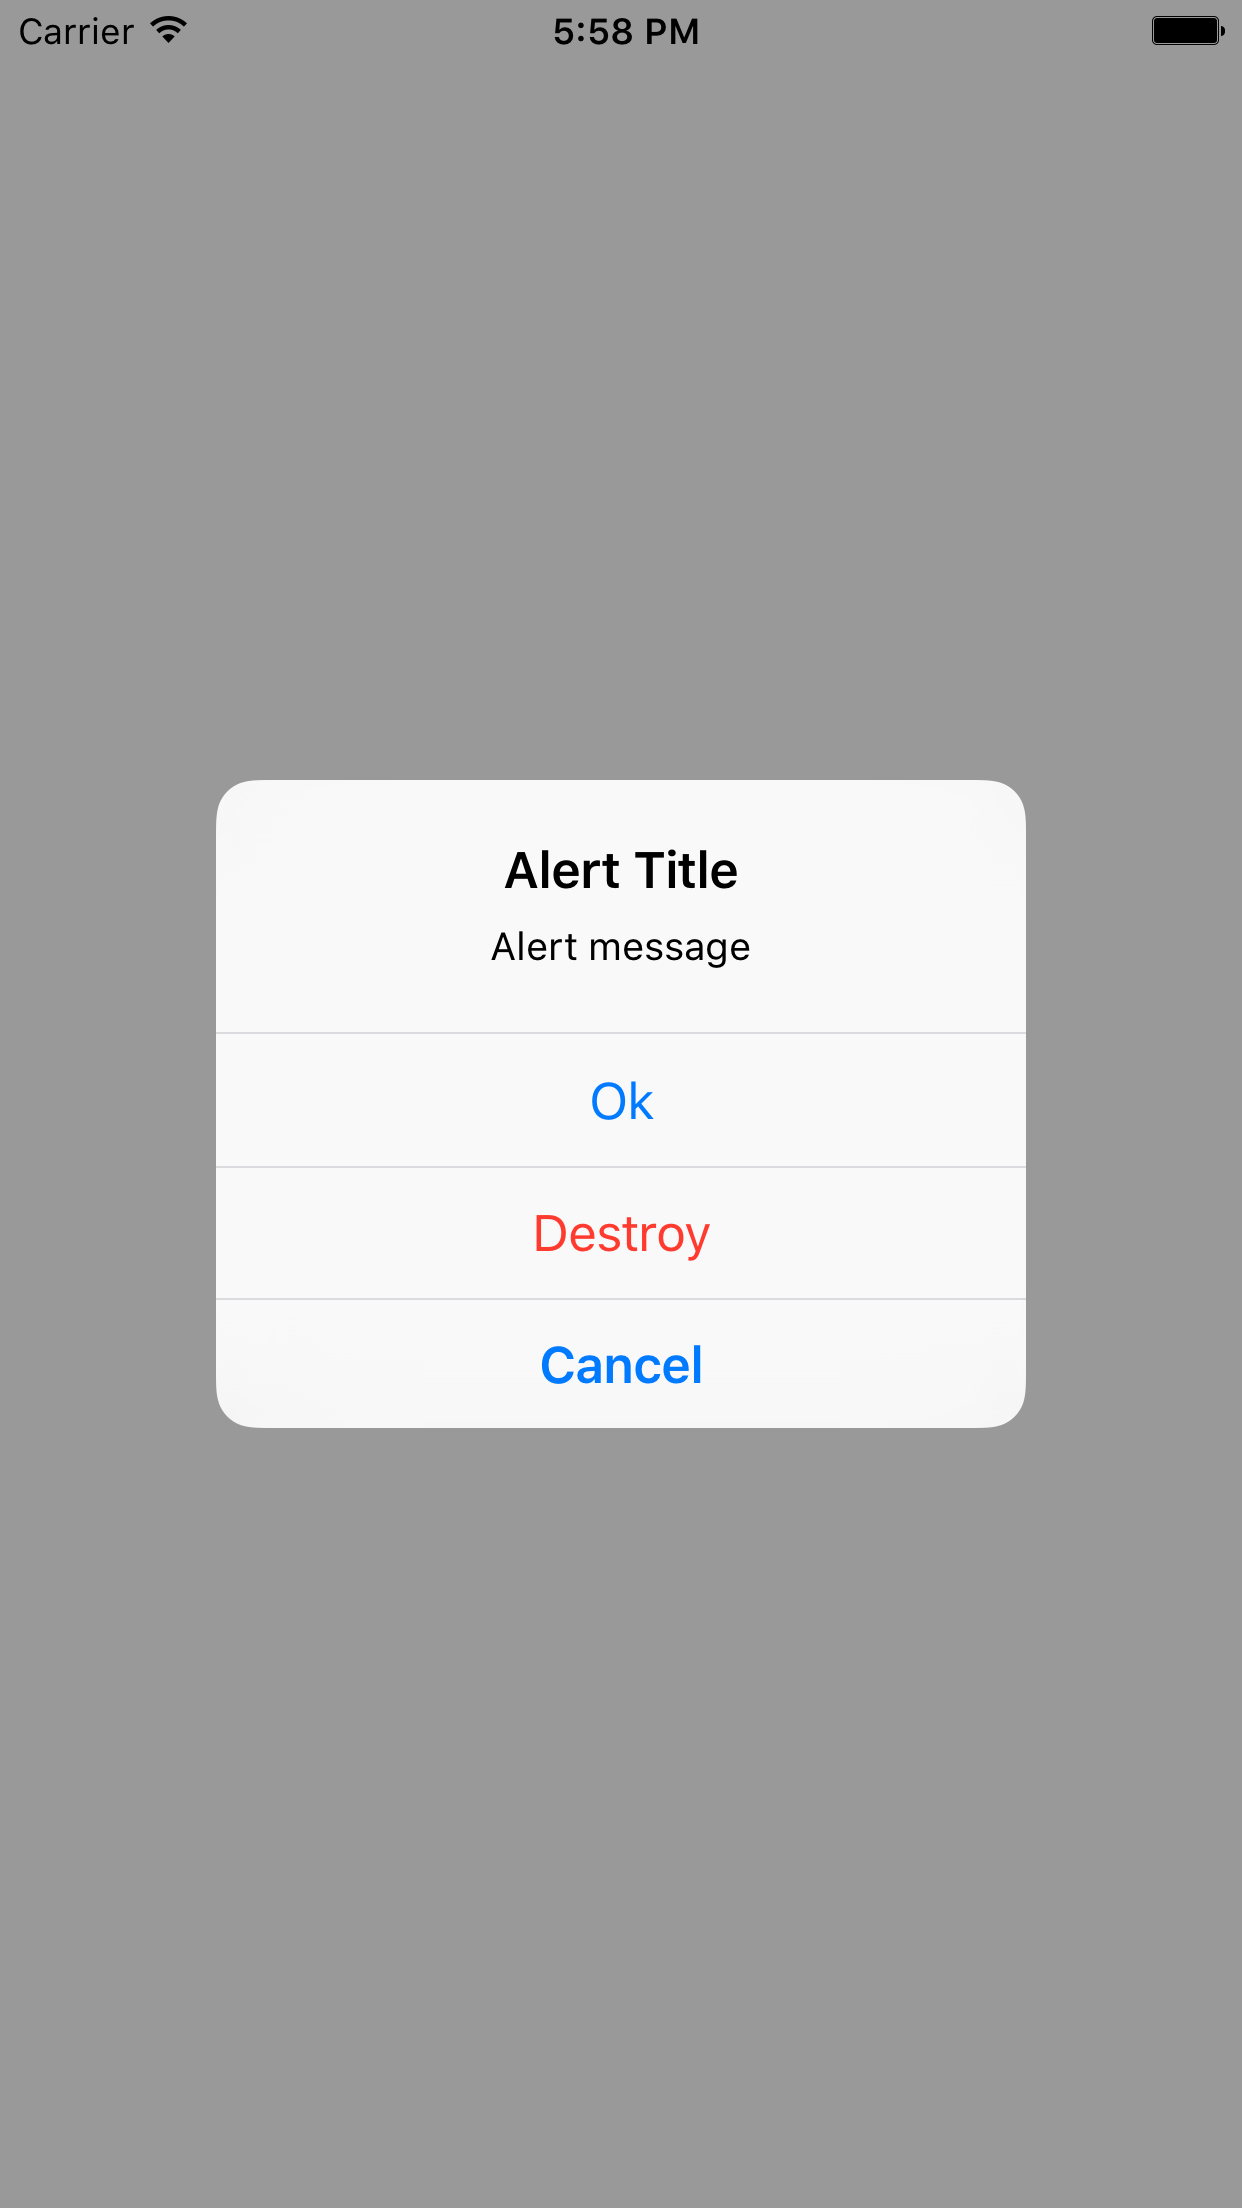
Here is an example that uses UIAlertController to present an alert:
let alert = UIAlertController(
		title: "Alert Title",
		message: "Alert message",
		preferredStyle: .Alert)

let okAction = UIAlertAction(title: "Ok", style: .Default) { (action) -> Void in
	print("OK pressed")
}

let destoryAction = UIAlertAction(title: "Destroy", style: .Destructive) { 	(action) -> Void in
	print("Destroy pressed")
}

let cancelAction = UIAlertAction(title: "Cancel", style: .Cancel) { (action) -> Void in
	print("Cancel pressed")
}

alert.addAction(okAction)
alert.addAction(cancelAction)
alert.addAction(destoryAction)

presentViewController(alert, animated: true, completion: nil)
The first step is to create the controller. There are couple of things you need to specify: title, message and style of the alert (see below). In this particular scenario we want to show an alert so we choose .Alert as our style.
Creating the controller is not enough to have fully functioning alert. In most cases you want some feedback from the user. UIAlertAction represents an action that can be chosen by the user. In the above scenario we have three different actions: Ok, Destroy and Cancel. Notice that each one of them has different style(UIAlertActionStyle) and allows you to pass a block to execute when the particular action is chosen.
There are three different styles that can be used with the action:
- .Default - it is a default style of the button
- .Cancel - this style indicates a Cancel operation. No data is changed as part of this action
-
.Destroy - this style indicates that the action might change or delete data
Have you noticed the last line? The UIAlertController is presented as a normal view controller. In fact, the UIAlertController extends UIViewController. Thanks to that it can be treated as any other controller in your app. No more awkward show() methods:)
The above code produces simple alert view:
Styles
UIAlertController replaced both UIAlertView and UIActionSheet. Therefore, Apple provided UIAlertControllerStyle enum which allows us to select which presentation mode should be used. As you might expect it contains only two values .Alert and .ActionSheet
Text views
Adding text views to alerts is as simple as adding actions. Consider the following sample:
let alert = UIAlertController(
		title: "Alert Title",
		message: "Alert message",
		preferredStyle: .Alert)

alert.addTextFieldWithConfigurationHandler { (textField) -> Void in
	textField.placeholder = "Placeholder"
}

let okAction = UIAlertAction(title: "Ok", style: .Default) { (action) -> Void in
	let textField = alert.textFields![0] as UITextField;
	print("Text Field Value: \(textField.text)")
}

alert.addAction(okAction)

presentViewController(alert, animated: true, completion: nil)
Again I created an UIAlertController but this time I also added a text field. When creating text field you may want to provide configuration block in which you can configure your text view. In the case above I set the placeholder text. The okAction changed a bit. The first thing I did was to grab the text view from the alert controller so that I could access the value and print it in the console
Here is how the alert looks when presented with a text field:

The end
As you saw above the improvement that came with UIAlertController is in my opinion quite big. Finally the alert view can be treated as any other view controller in an application. There is also no need for implementing a delegate since you directly provide lambdas that handle interactions with a given button.